

How to Install
Installing your Wallpaper
Every wall is different. Continue reading to discover the best way to install our wallpaper. Read our instructions here ↓

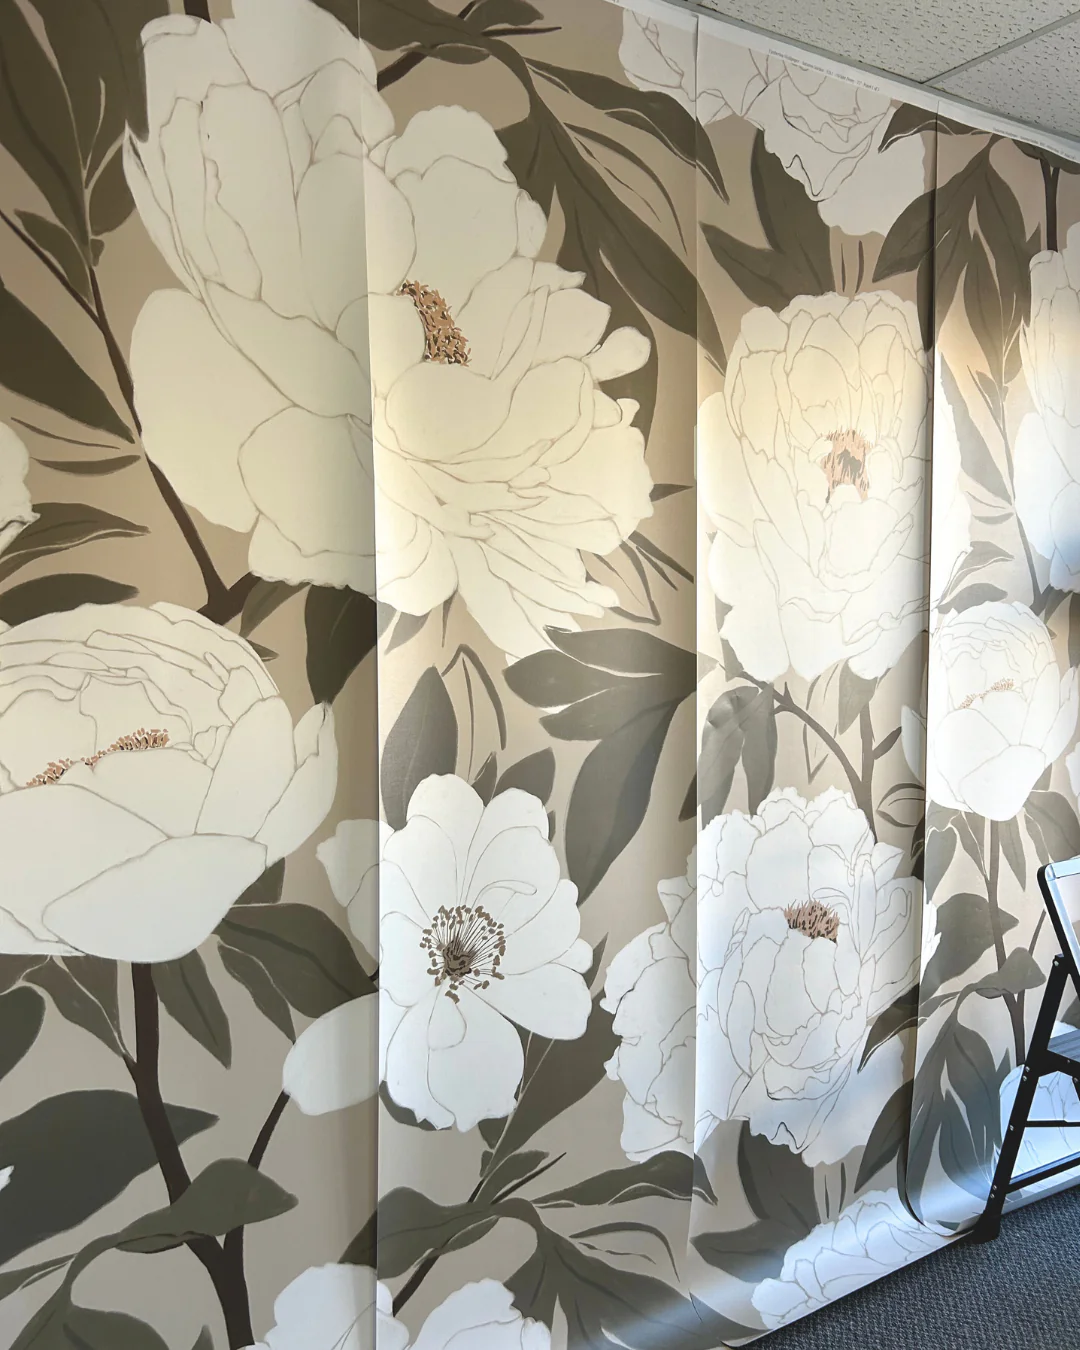
Take a look at your wallpaper
Take a look at your panels! Depending on the design you chose, you may have multiple panels that need to be installed in a particular sequence. Take a look at the top of your panels to see what panel number you're working with!
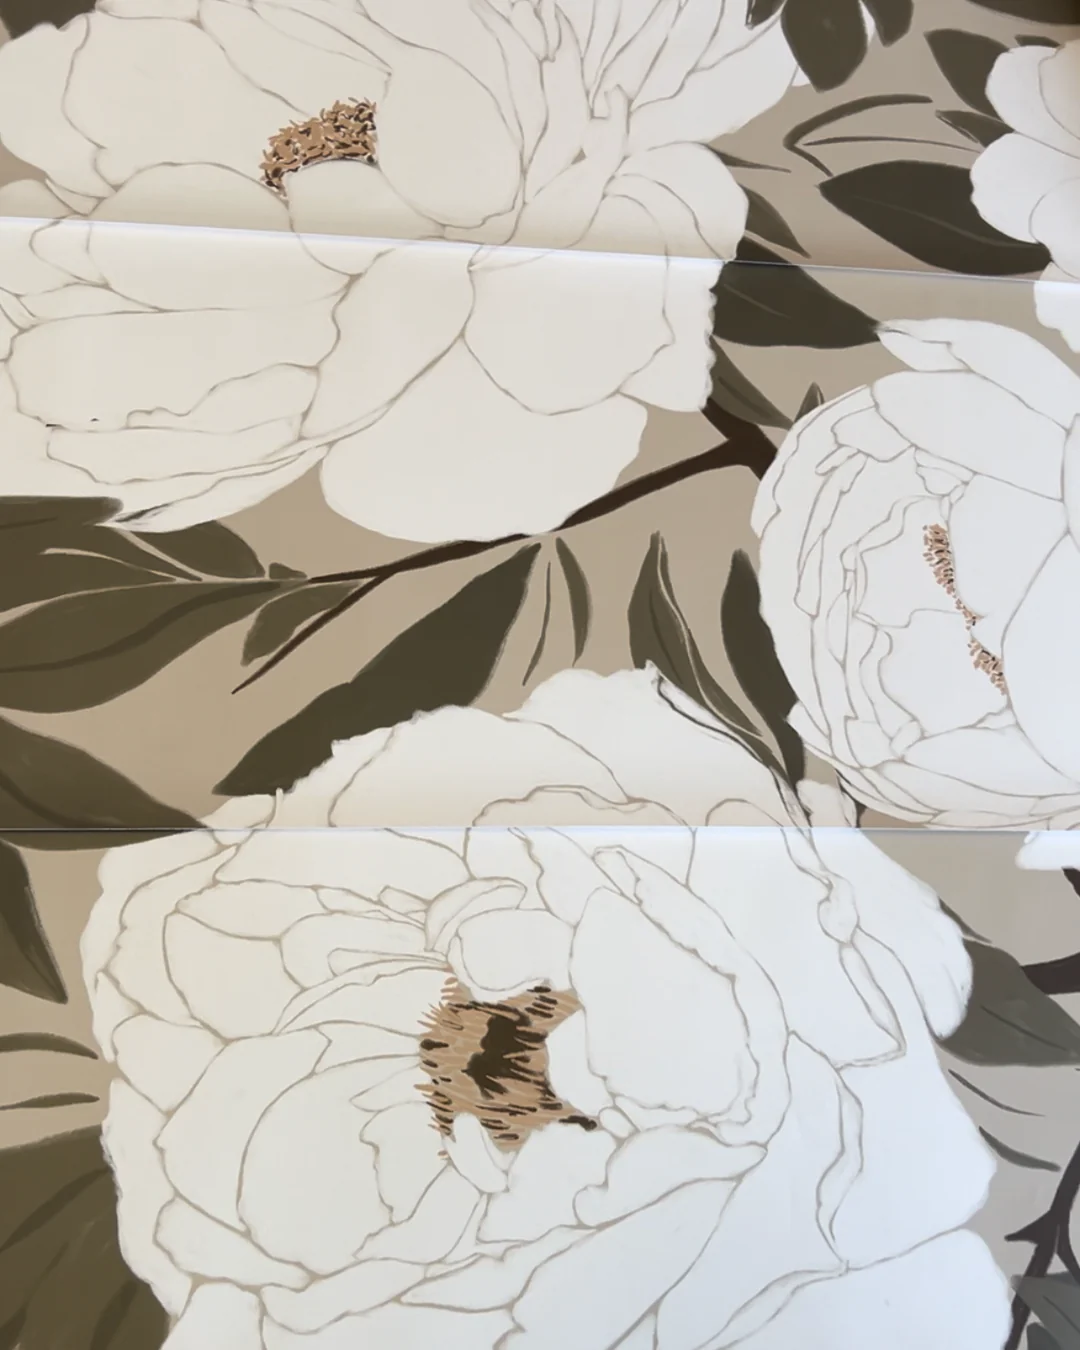
Lay your panels down
Our peel + stick is installed with a slight overlap. Get an understanding of your design repeat by laying your panels down on a flat surface to ensure they align! If they align on a flat surface, you know they'll align on your wall!
Please contact us if you have any issues with your wallpaper. Once you apply your wallpaper, unfortunately it is too late for refunds or exchanges.
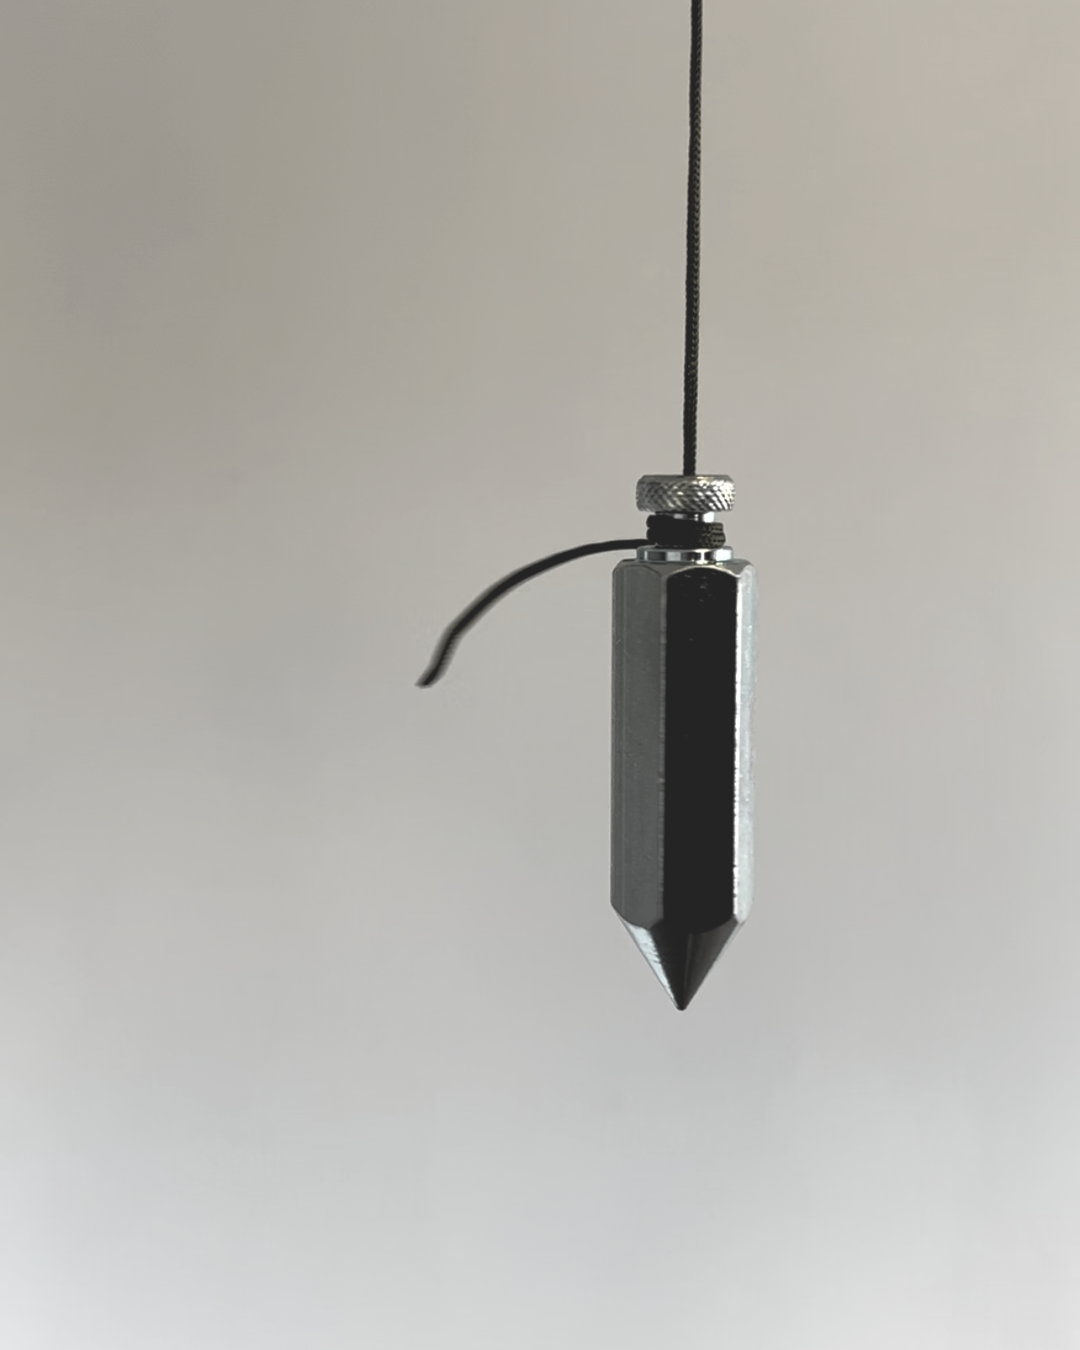
Using a plumb line
To start your install correctly, you want to create a straight, level line. This line will guide your first panel. You can do this with a plumb line, leveller, or laser level.
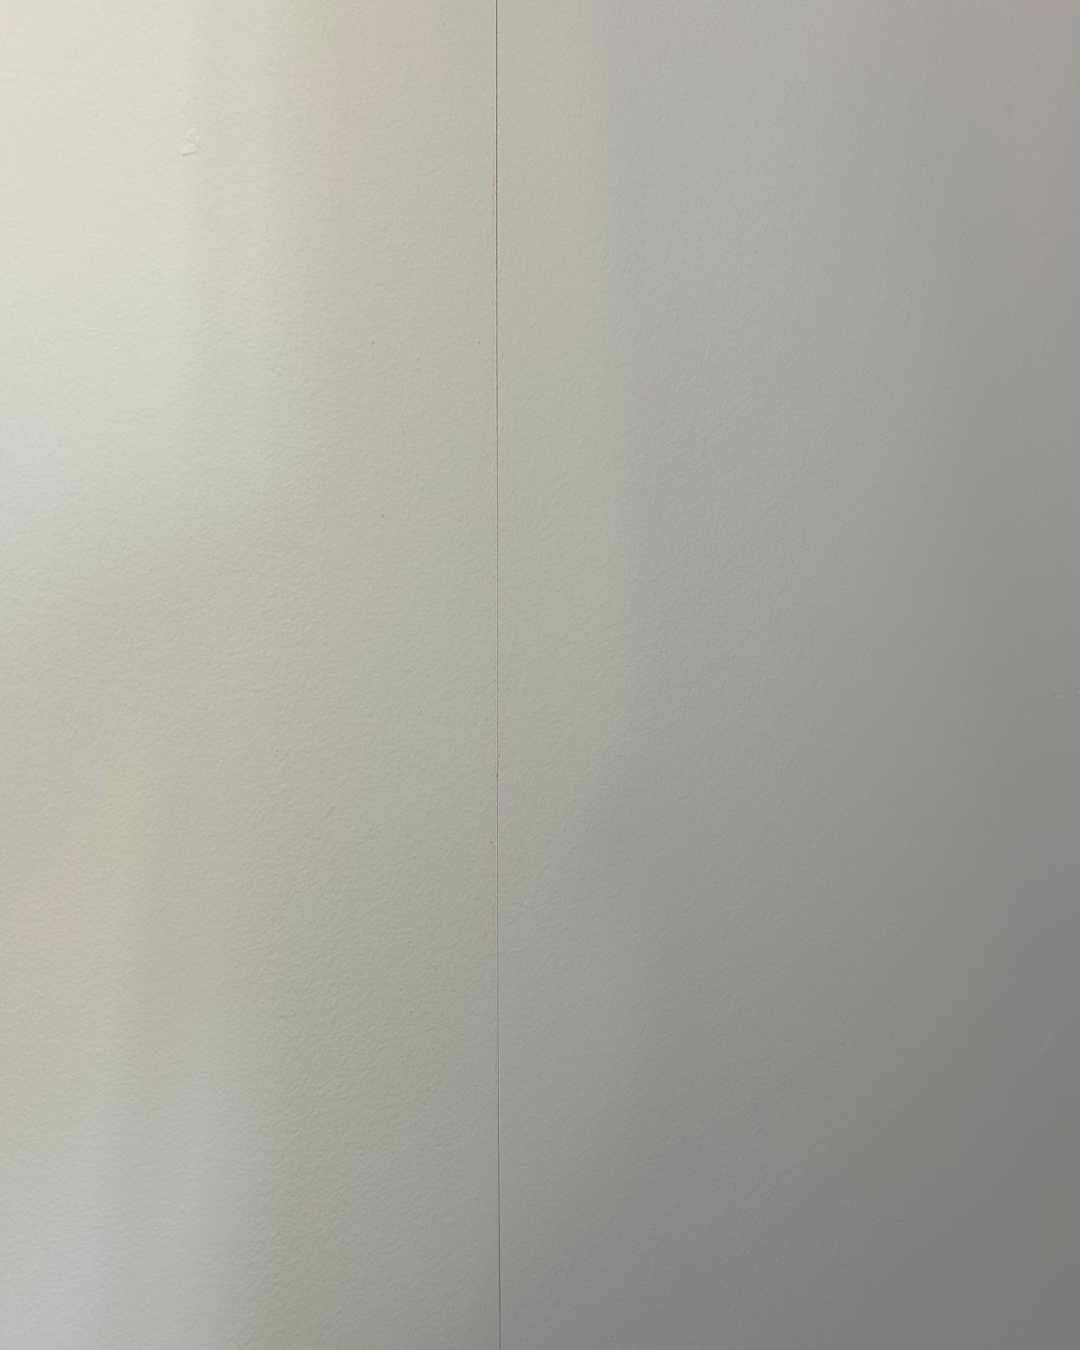
Creating a straight line
Ensure your line is levelled to avoid installing on a slant. If your line is slightly unlevelled, your install will increasingly drift along the width of your wall.
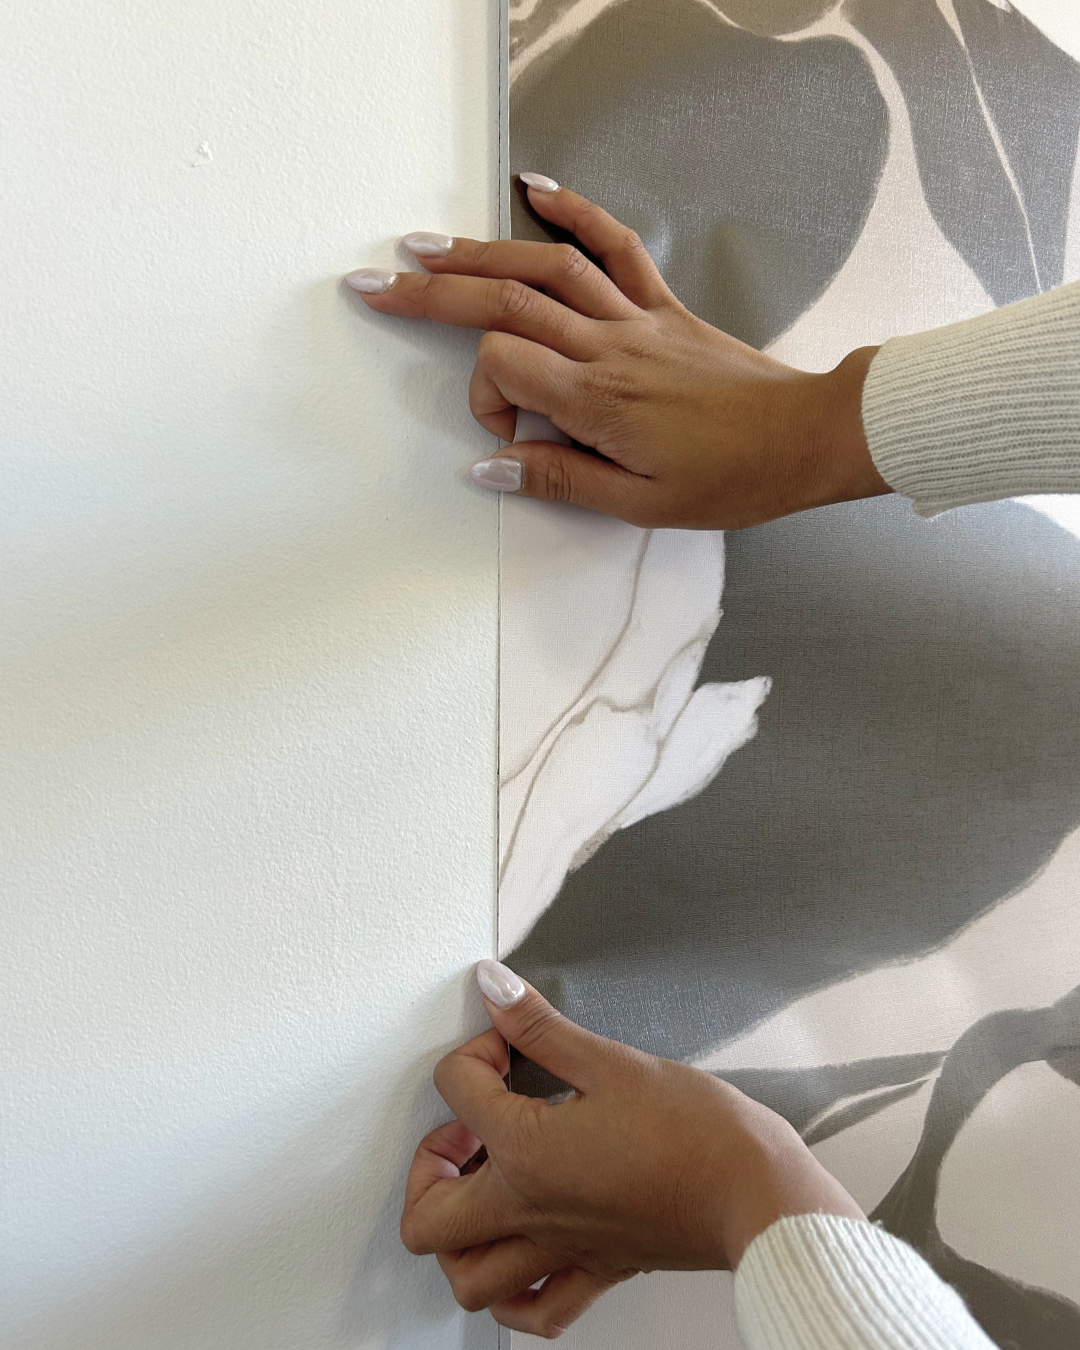
Lining up your first panel
Align your panel along this levelled line. Tape your panel in place to keep it in position as you install down the wall. Refer to the hinge method in your instructions.
Plan for your install
Save time and stress with proper planning! To minimize application problems, test your layout by temporarily positioning your wallpaper on your wall using masking tape. Proper planning reduces the need to reposition during installation.
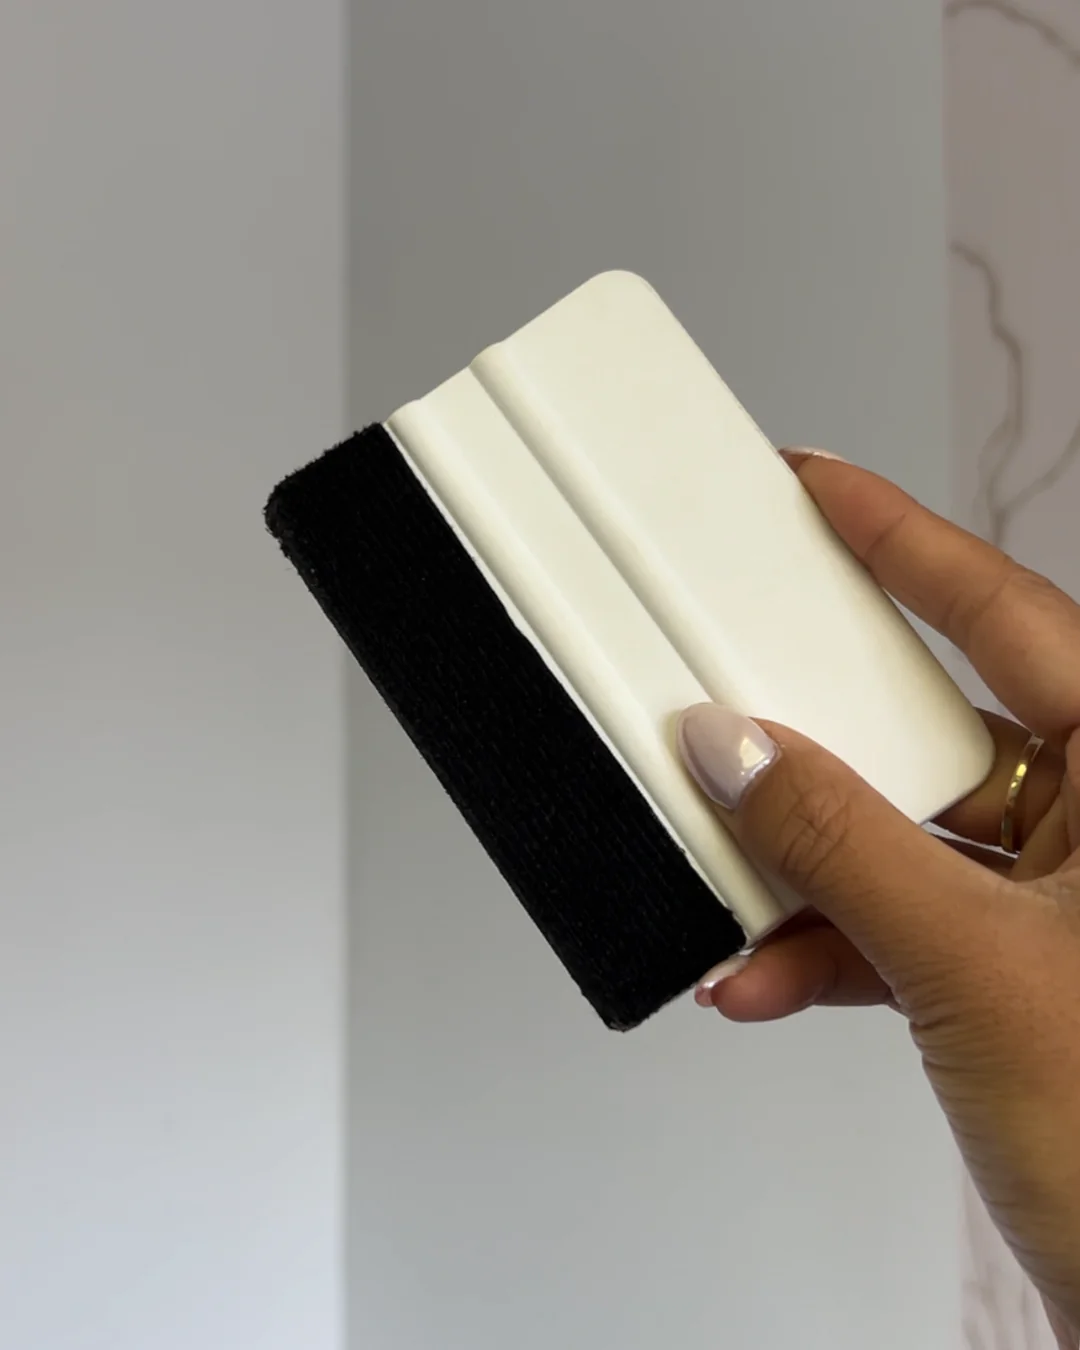
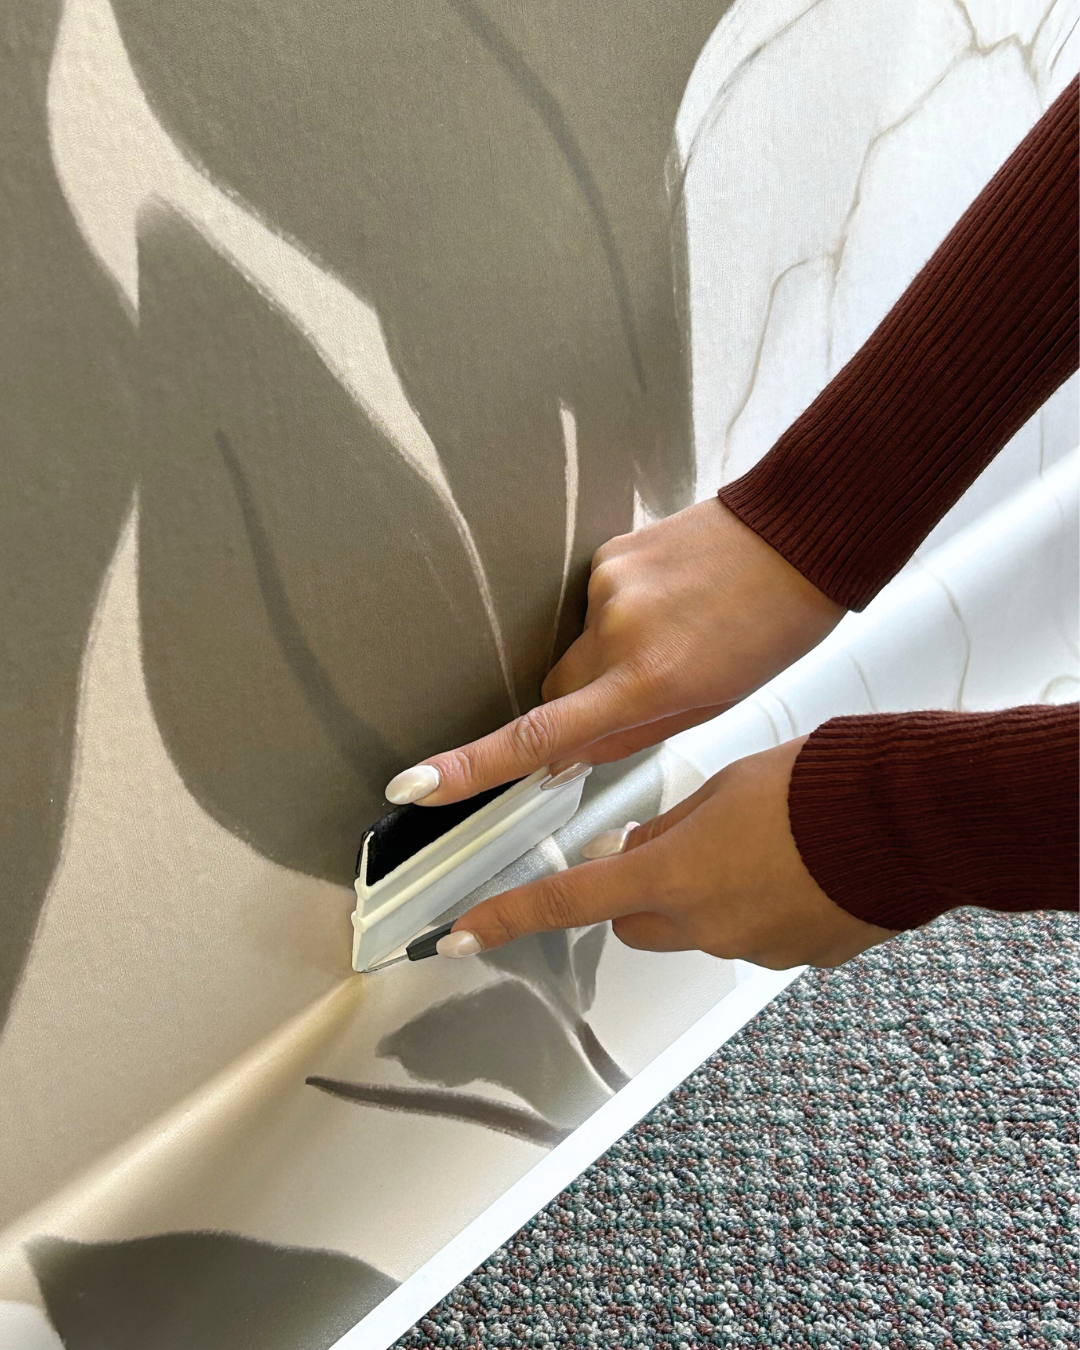
Protect your wallpaper
When installing, you want to protect your wallpaper as you are smoothing it down. Protect your wall and use a felt edge squeegee like shown here! The soft edge will help you smooth and work the wallpaper into your wall grooves. This tool is essential to remove air bubbles and get a true bond!
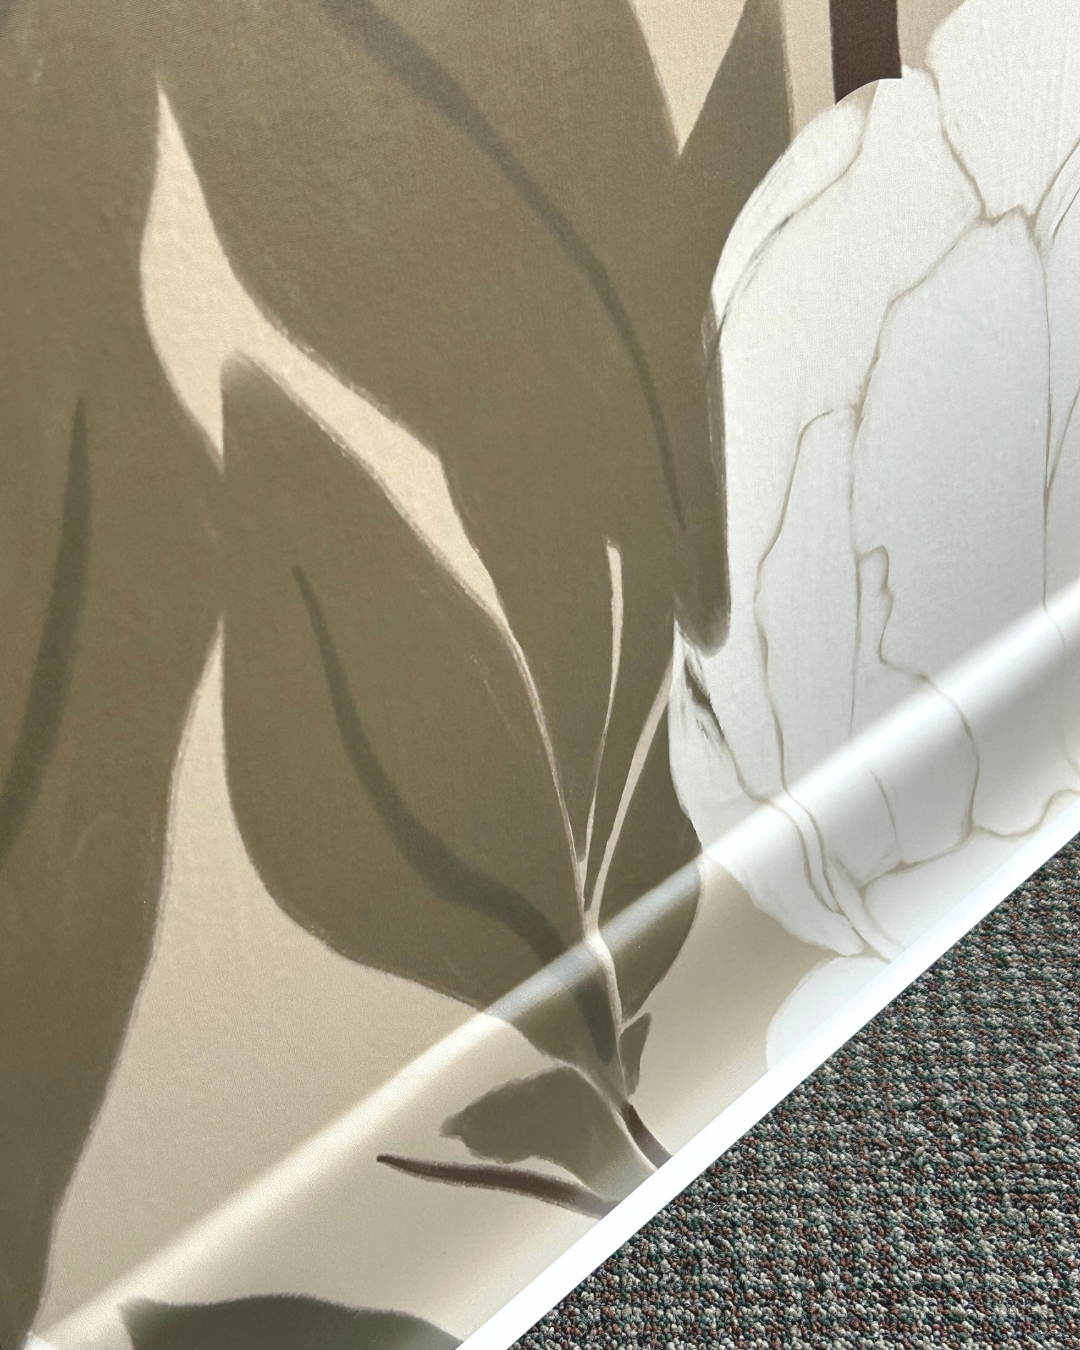
Get ready to trim away
You're almost there. Trim away your excess when you are happy with the placement of your wallpaper!
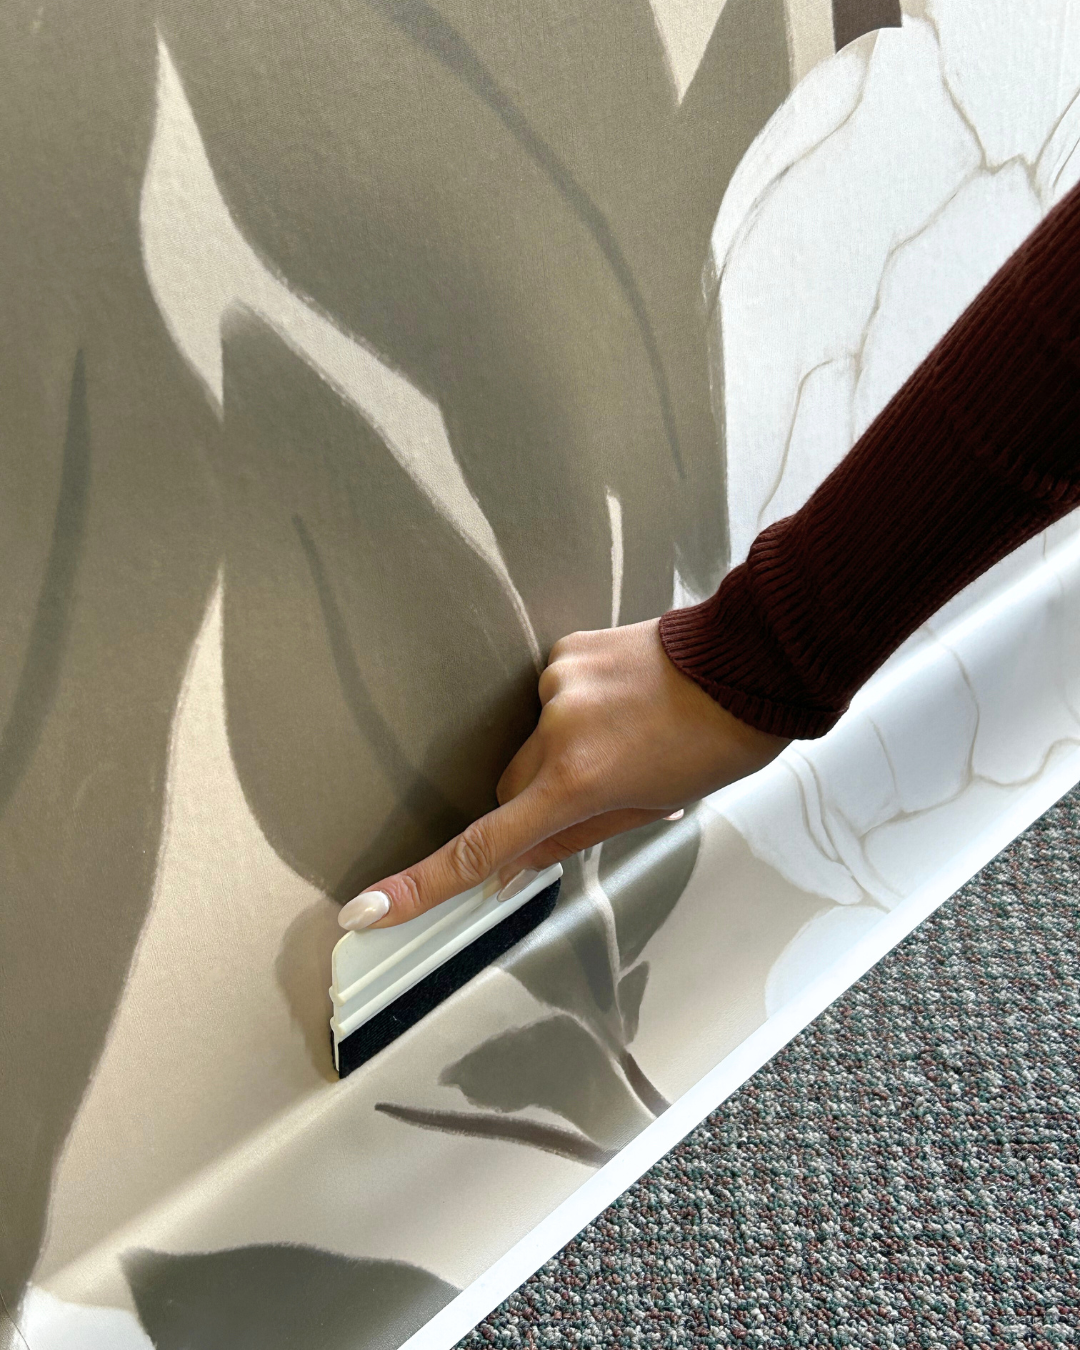
Get your squeegee out one last time
Work the wallpaper into your wall with the squeegee! Go over your edges and seams a couple more times to be sure!
Easily trim excess with a straight edge and razor
Using your straight edge, guide your razor against the edge you want to trim away. Be patient for an accurate cut.
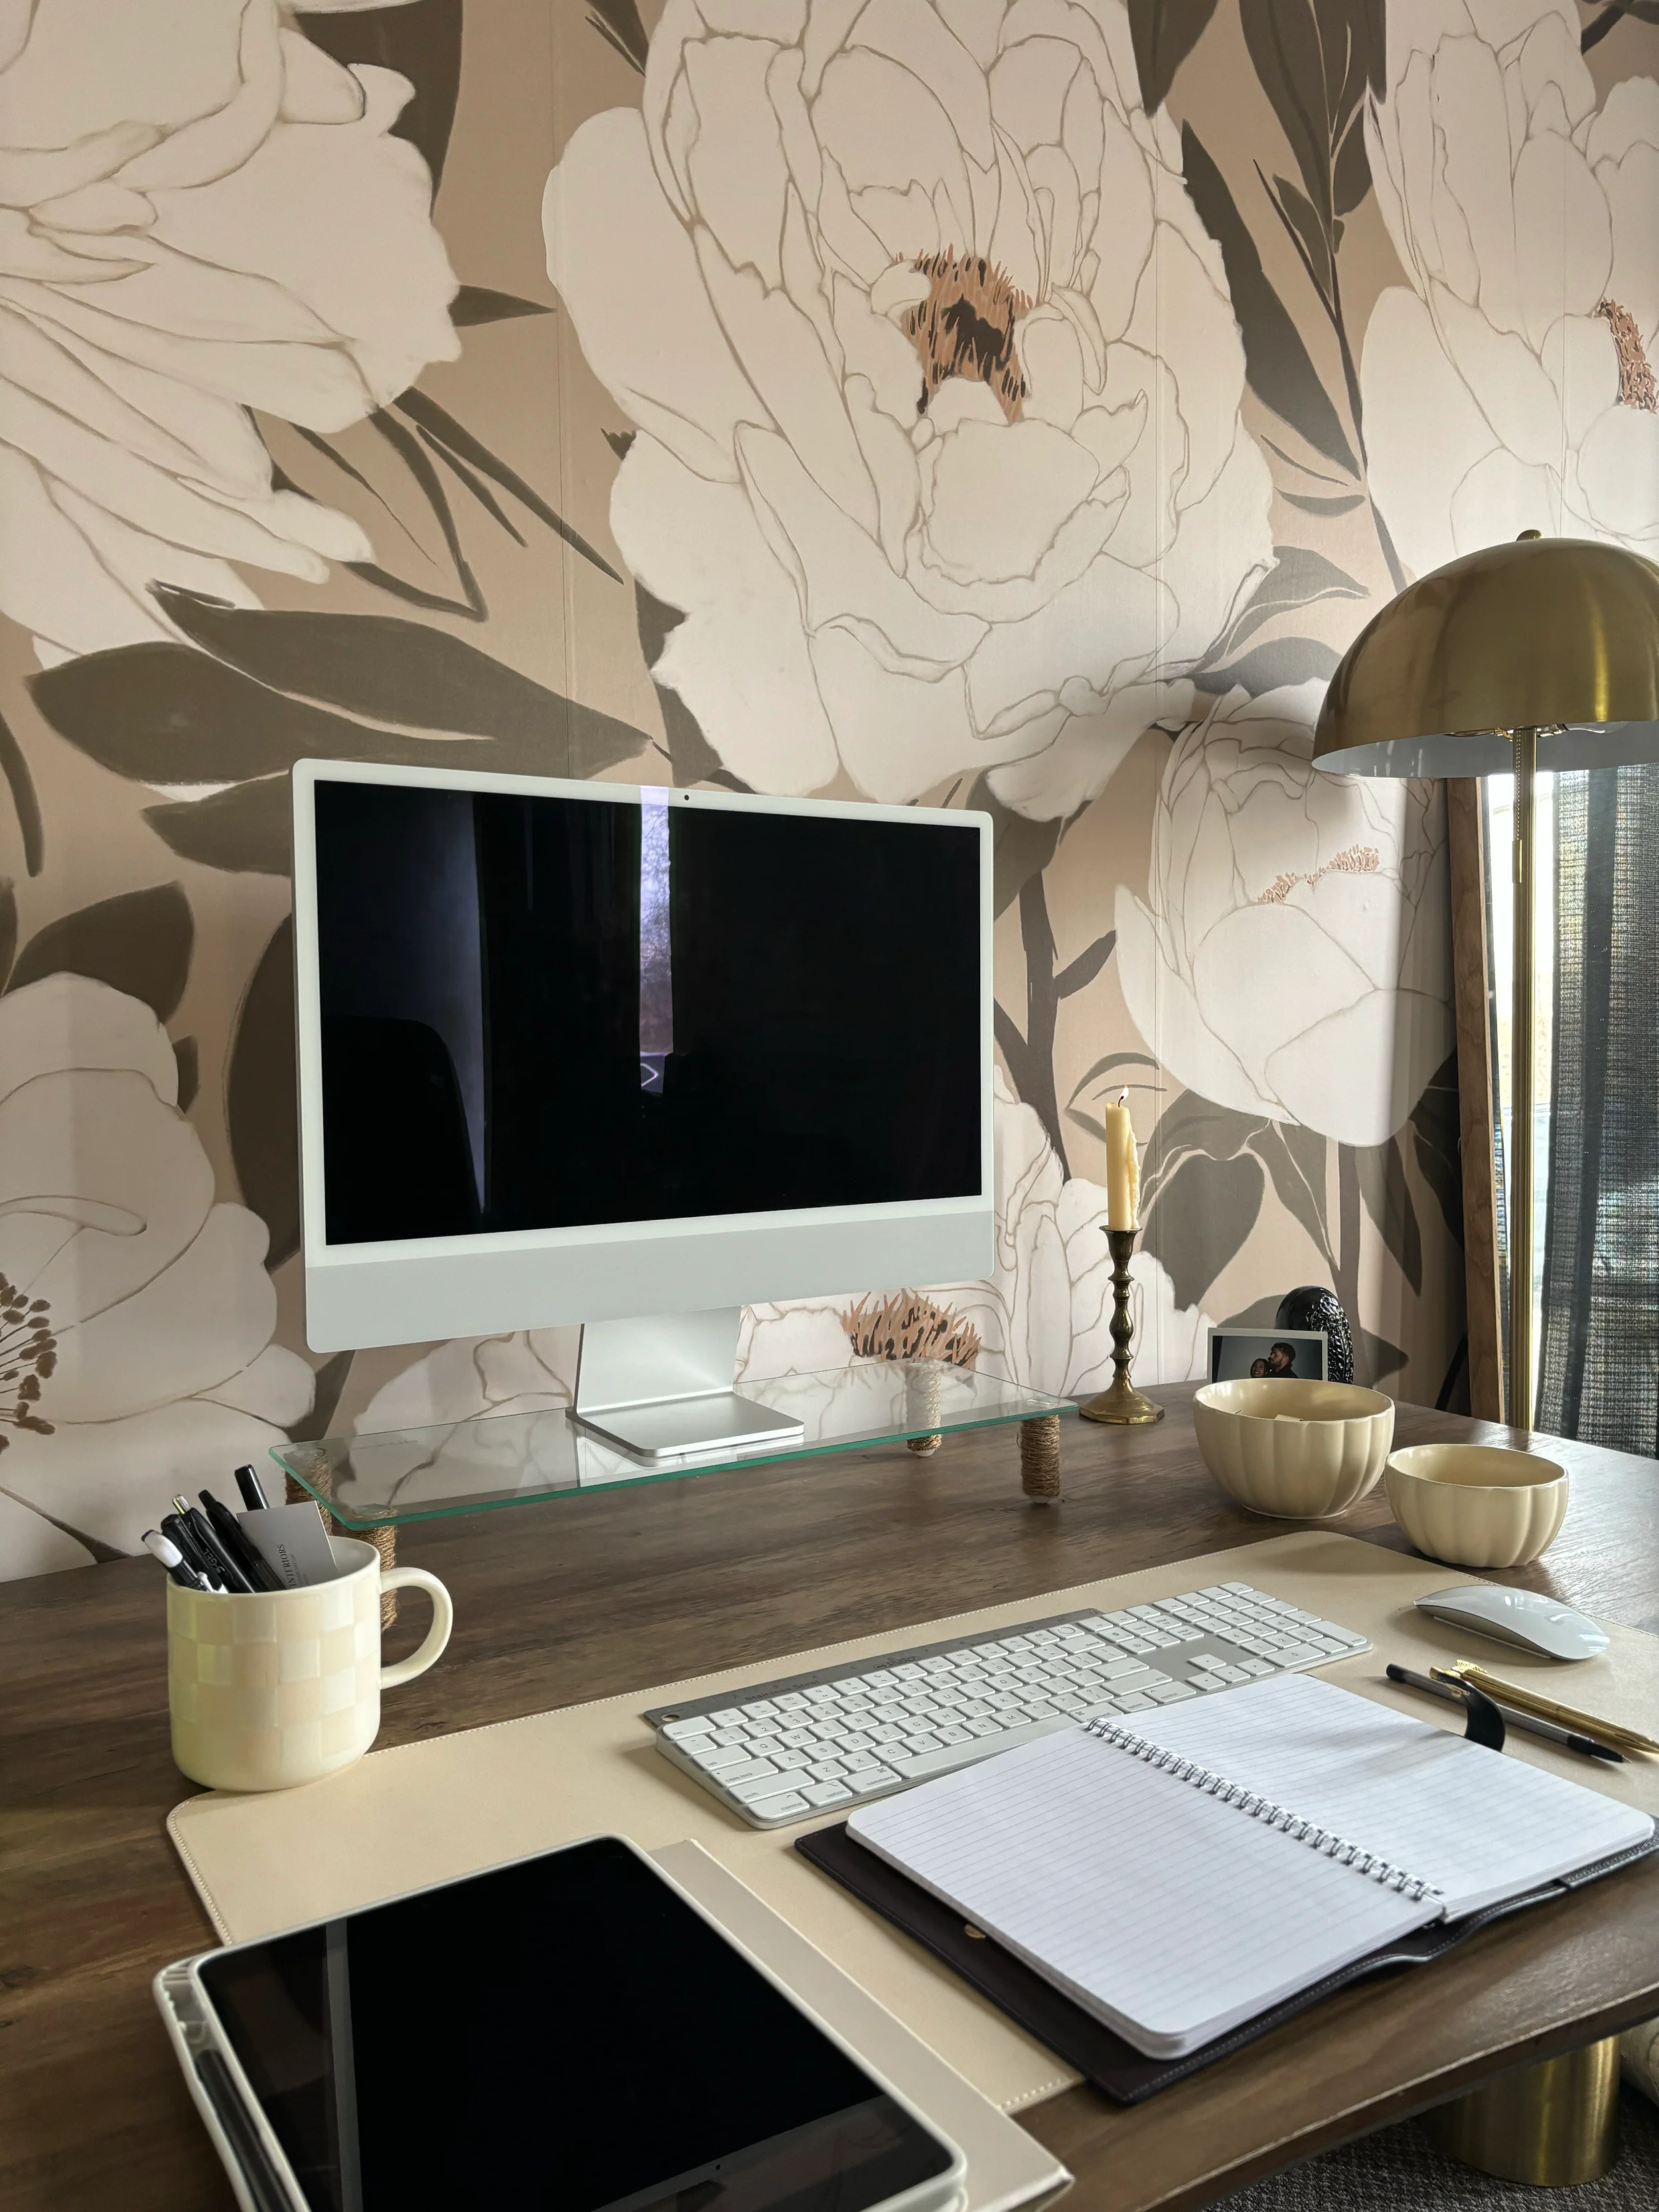
Enjoy your new space
It's time to bask in your new space. Find beauty in the new and your old. Fall in love with your walls again!